18  Data Analysis


This chapter is about communicating results. We cover how to present data in interactive figures and tables, how to polish a figure so a reader grasps it quickly, and how to assemble a reproducible report in Quarto. Good analysis is only useful to others if its output is clear.

18.1 Outputs

Interactive Figures.

A single static plot fixes one view of the data, but readers often want to explore details the analyst did not pre-select.

ImportantKey Definition

An interactive figure is a plot whose viewer can change the display at runtime (hovering for point-level detail, panning, zooming, or filtering) without re-rendering on the analyst’s side.

Interactive figures are useful when the data have more structure than any single static view can capture: many points where hovering reveals labels, groups the reader may want to toggle, or ranges they may want to zoom into. The plotly package wraps common plot types (notably histograms, boxplots, and scatterplots) into HTML widgets that work in any browser.

Code
library(plotly)              # install.packages('plotly')
USArrests[, 'ID'] <- rownames(USArrests) # state name for hover text

# Scatter plot of arrests vs urbanization
fig <- plot_ly(
    USArrests, x = ~ UrbanPop, y = ~ Assault,
    mode='markers',
    type='scatter',
    hoverinfo='text',                              # use custom hover text
    marker=list( color='rgba(0, 0, 0, 0.5)'),      # semi-transparent points
    text = ~ paste('<b>', ID, '</b>',              # one line per state
        '<br>Urban  :', UrbanPop,
        '<br>Assault:', Assault))
fig <- layout(fig,
    showlegend=FALSE,
    title='Crime and Urbanization in America 1975',
    xaxis = list(title = 'Percent of People in an Urban Area'),
    yaxis = list(title = 'Assault Arrests per 100, 000 People'))
fig
Code
# Box Plot
fig <- plot_ly(USArrests,
    y= ~ Murder, color= ~ cut(UrbanPop, 4),
    alpha=0.6, type='box',
    pointpos=0, boxpoints = 'all',
    hoverinfo='text',    
    text = ~ paste('<b>', ID, '</b>',
        '<br>Urban  :', UrbanPop,
        '<br>Assault:', Assault,
        '<br>Murder :', Murder))    
fig <- layout(fig,
    showlegend=FALSE,
    title='Crime and Urbanization in America 1975',
    xaxis = list(title = 'Percent of People in an Urban Area'),
    yaxis = list(title = 'Murders Arrests per 100, 000 People'))
fig
Code
pop_mean <- mean(USArrests[, 'UrbanPop'])
pop_cut <- USArrests[, 'UrbanPop'] < pop_mean
murder_lowpop <- USArrests[ pop_cut, 'Murder']
murder_highpop <- USArrests[ !pop_cut, 'Murder']

# Overlapping Histograms
fig <- plot_ly(alpha=0.6, hovertemplate='%{y}')
fig <- add_histogram(fig, murder_lowpop, name='Low Pop. (< Mean)',
    histnorm = 'probability density',
    xbins = list(start=0, size=2))
fig <- add_histogram(fig, murder_highpop, name='High Pop (>= Mean)',
    histnorm = 'probability density',
    xbins = list(start=0, size=2))
fig <- layout(fig,
    barmode='overlay',
    title='Crime and Urbanization in America 1975',
    xaxis = list(title='Murders Arrests per 100, 000 People'),
    yaxis = list(title='Density'),
    legend=list(title=list(text='<b> % Urban Pop. </b>')) )
fig
Code

# Possible, but less preferable, to stack histograms
# barmode='stack', histnorm='count'

Note that many plots can be made interactive via https://plotly.com/r/. For more details, see examples and then applications.

If you have many points, for example, you can make a 2D histogram.

Code
library(plotly)
fig <- plot_ly(
    USArrests, x = ~ UrbanPop, y = ~ Assault)
fig <- add_histogram2d(fig, nbinsx=25, nbinsy=25)
fig

Interactive Tables.

For raw data, a static table forces the analyst to pre-pick which rows the reader sees first.

ImportantKey Definition

An interactive table shows rows of data with built-in filtering, sorting, and search controls. The viewer chooses which rows to see; the analyst does not need to pre-aggregate.

Interactive tables are useful when the reader wants to look up specific records rather than a summary view: searching by row identifier, sorting on a particular column, or filtering down to a subset. The reactable package renders a data frame as an HTML widget with these controls already built in.

Code
data('USArrests')
library(reactable)                       # install.packages('reactable')
reactable(USArrests,
    filterable=TRUE,                        # one search box per column
    highlight=TRUE)                         # row highlighting on hover

You can create an interactive table that summarizes the data too.

Code
# Compute summary statistics
vars <- names(USArrests)
stats_list <- vector('list', length(vars))
for (i in seq_along(vars)) {
  v <- vars[i]
  x <- USArrests[[v]]
  stats_list[[i]] <- c(
    Variable = v,
    N       = sum(!is.na(x)),
    Mean    = mean(x, na.rm = TRUE),
    SD      = sd(x, na.rm = TRUE),
    Min     = min(x, na.rm = TRUE),
    Q1      = as.numeric(quantile(x, 0.25, na.rm = TRUE)),
    Median  = median(x, na.rm = TRUE),
    Q3      = as.numeric(quantile(x, 0.75, na.rm = TRUE)),
    Max     = max(x, na.rm = TRUE)
  )
}

# Convert list to data frame with numeric columns 
stats_df <- as.data.frame(do.call(rbind, stats_list), stringsAsFactors = FALSE)
num_cols <- setdiff(names(stats_df), 'Variable')
for (col in num_cols) {
    stats_df[[col]] <- round(as.numeric(stats_df[[col]]), 3)
}

# Display interactively
reactable(stats_df)

Polishing.

A first-draft figure usually works for the analyst but not for anyone else; polishing makes it readable on first glance by stripping what is not data and adding what is needed to interpret what remains.

ImportantKey Definition

The data-ink ratio is the share of ink in a figure devoted to displaying data: \[\text{data-ink ratio} = \frac{\text{ink used to display data}}{\text{total ink in the figure}}.\] Non-data ink is everything else: gridlines, borders, shading, redundant labels, and decoration.

The data-ink ratio is useful as a one-number guide for polishing: a low ratio means clutter is competing with the data, a high ratio means the figure is doing as little extra work as possible. Tufte (2001) introduces it to push figures toward a single goal: every mark should help the reader see the data. So erase any element that, if removed, would not change what the reader learns. When polishing, you do two things:

  • Add details that are necessary.
  • Remove details that are not necessary.

Data-Ink Ratio numerical example. Consider a scatter plot of 50 points with a heavy gray background, a thick border, and three duplicate legends. Of all the pixels printed, only the 50 points are data ink. Suppose those points account for 200 pixels and the rest of the figure uses 1800 pixels. The data-ink ratio is \(200/(200 + 1800) = 0.10\). Strip the background, border, and duplicate legends and the same 200 data pixels might account for \(200/250 \approx 0.80\). Same information, eight times the ratio.

A cluttered plot vs a polished one. The two panels below show the same data: a small downward relationship between urbanization and murder arrests across 50 American states. The left panel piles on non-data ink; the right strips it back. Both panels carry the same information about the data.

Code
par(mfrow=c(1, 2), mar=c(4, 4, 2, 1))

# Cluttered: heavy background, gridlines, default symbols, redundant title
plot(Murder ~ UrbanPop, data=USArrests,
    pch=21, bg='red', col='blue', cex=1.5,
    main='Murder Arrests vs Urban Pop. (US, 1975)',
    sub='Source: USArrests',
    xlab='UrbanPop (%)',
    ylab='Murder Arrests per 100,000 People (Murder)')
grid(col='black', lwd=1)
box(lwd=2)
legend('topright', legend='State', pch=21, pt.bg='red', col='blue')

# Polished: light points, no grid, no redundant labels or legend
plot(Murder ~ UrbanPop, data=USArrests,
    pch=16, col=grey(0, .5),                     # transparent black points
    main=NA, xlab='Urban Population', ylab='Murder Arrests',
    bty='n')                                     # drop the surrounding box
title('US States, 1975', font.main=1, adj=0)

Removed: drop-shadow markers, grid, box, redundant title, subtitle, one-entry legend. Added: nothing; the cleaner panel reads faster because nothing competes with the points.

A colleague sends a scatterplot of monthly sales against advertising spend. It has a shaded background, a drop-shadow on every point, a 3D tilt, a legend that names the single series “Series 1”, and a company logo in the corner. Which elements should you remove, and what (if anything) should you add?

The shading, drop-shadows, 3D tilt, one-entry legend, and logo are all non-data ink: none of them help a reader read sales against spend, so all can go. Keep the points and clear axis labels. If a few months are special (say, a promotion), a short text label on those points is necessary ink worth adding.

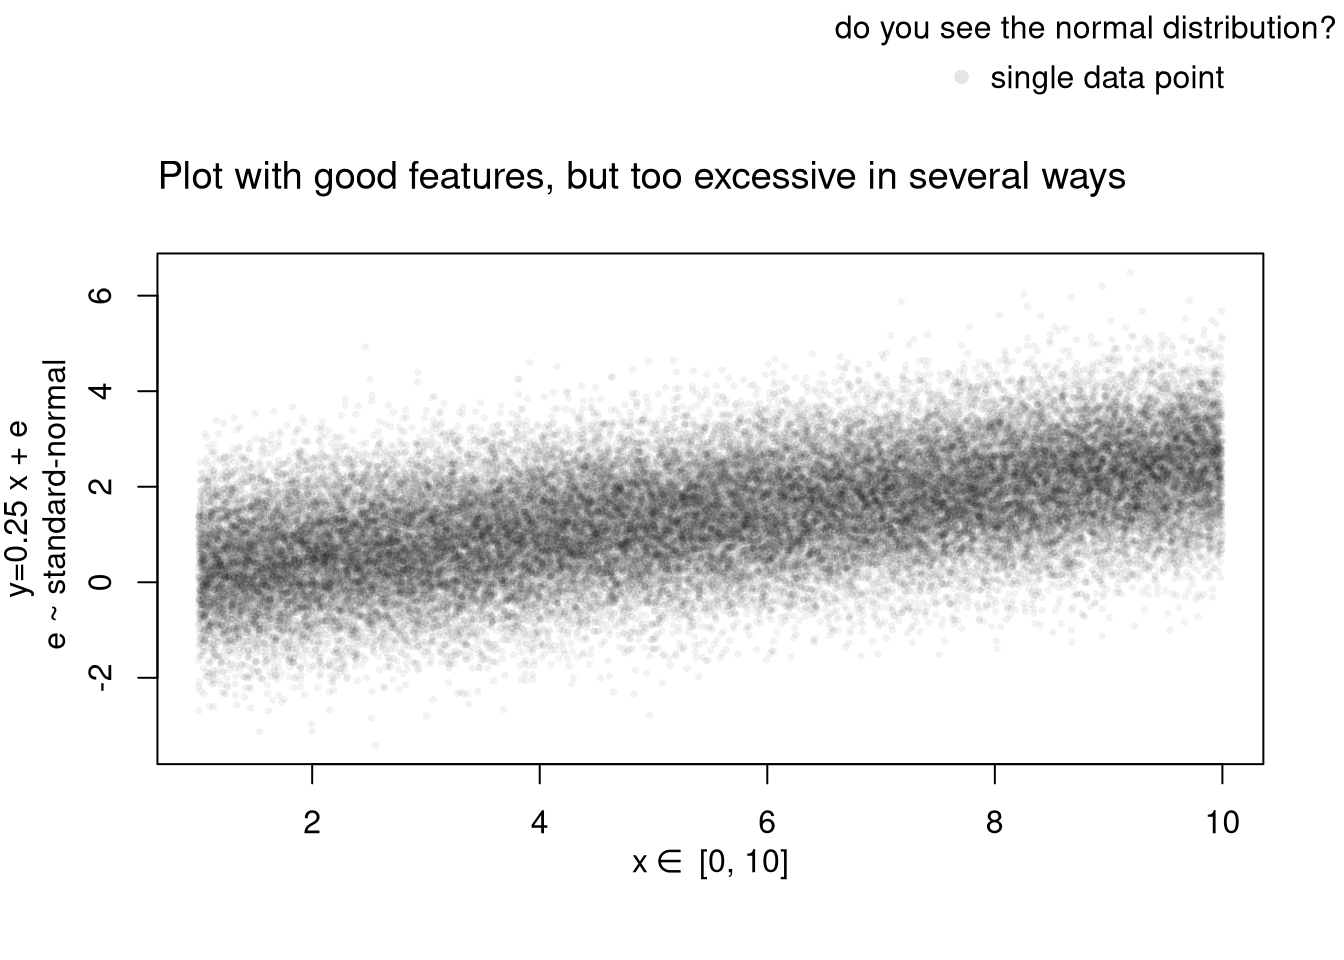
Code
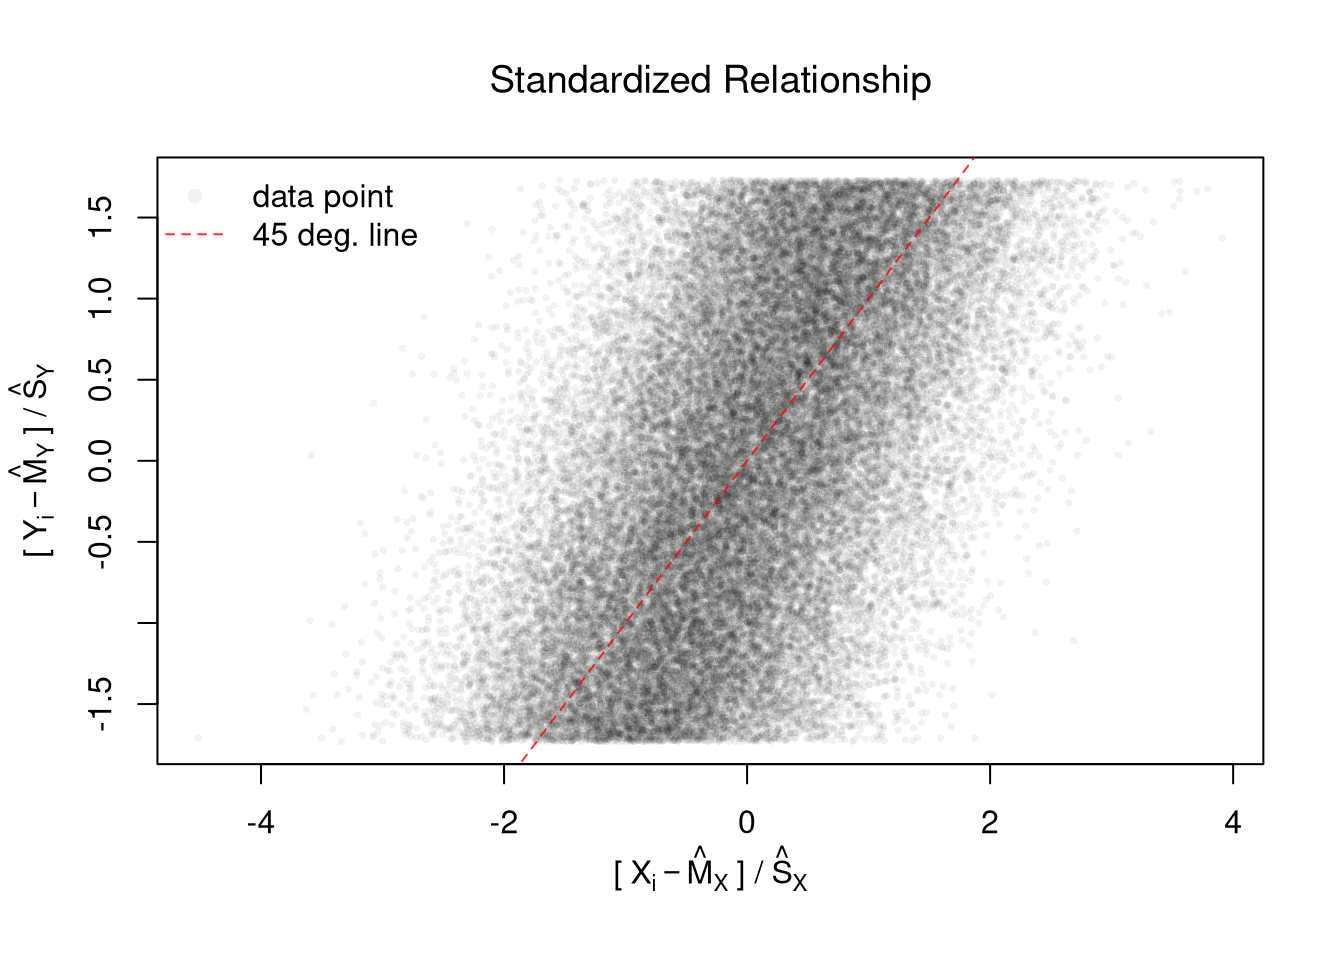
# Random Data
x <- seq(1, 10, by=.0002)
e <- rnorm(length(x), mean=0, sd=1)
y <- .25*x + e 

# First Draft
# plot(x, y)

# Second Draft: Focus
# (In this example: relationship magnitude)
xs <- scale(x)
ys <- scale(y)
plot(ys, xs,
    xlab='', ylab='',
    pch=16, cex=.5, col=grey(0, .05),
    main=NA)
mtext(expression('['~X[i]-hat(M)[X]~'] /'~hat(S)[X]), 1, line=2.5)
mtext(expression('['~Y[i]-hat(M)[Y]~'] /'~hat(S)[Y]), 2, line=2.5)
# Add a 45 degree line
abline(a=0, b=1, lty=2, col=rgb(1, 0, 0, .8))
legend('topleft',
    legend=c('data point', '45 deg. line'),
    pch=c(16, NA), lty=c(NA, 2), col=c(grey(0, .05), rgb(1, 0, 0, .8)),
    bty='n')
title('Standardized Relationship', font.main=1)

Code
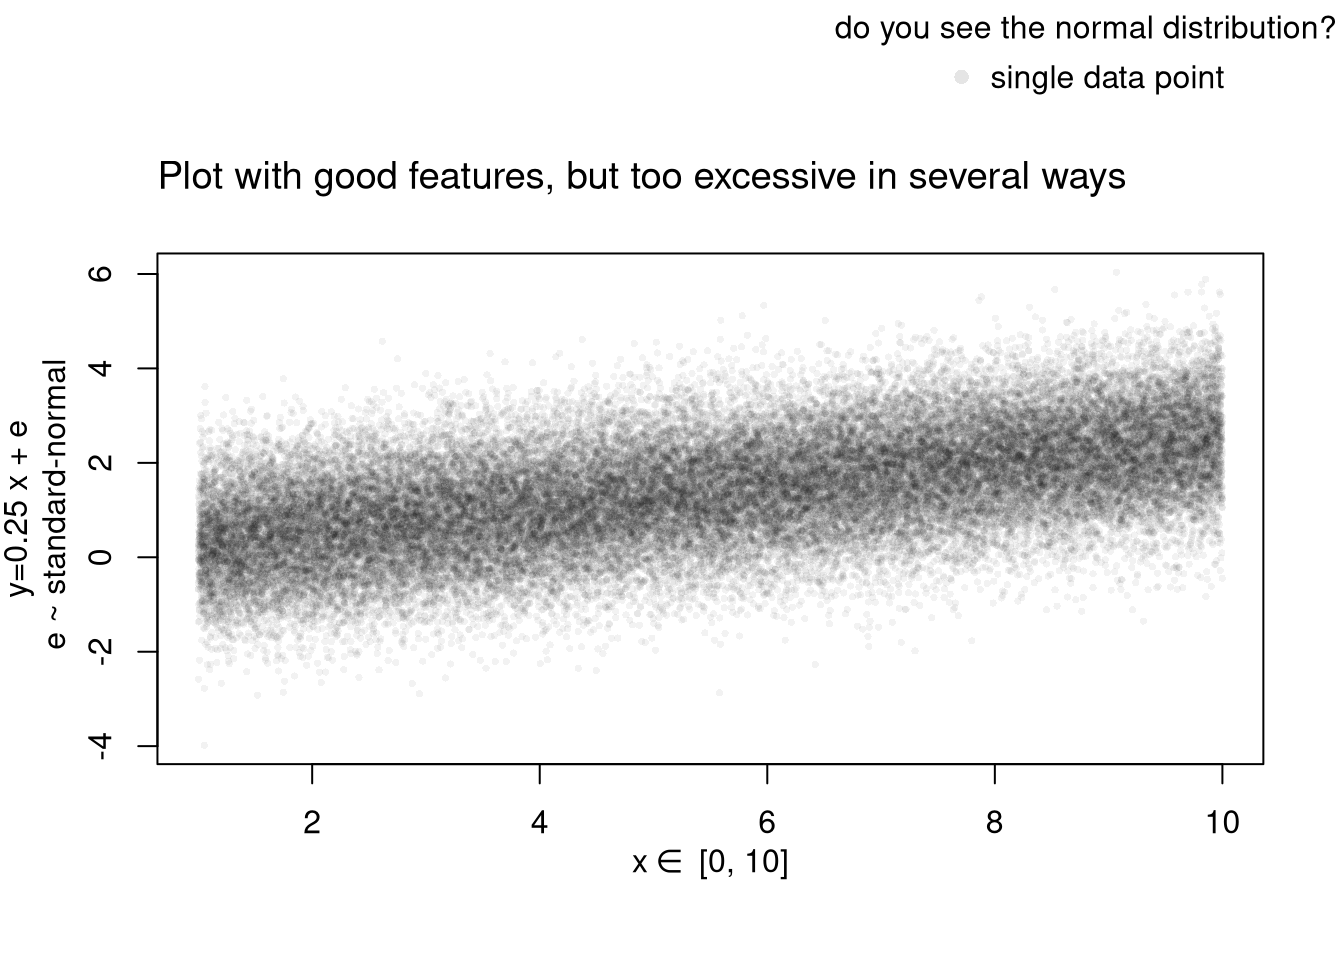
# Another Example
xy_dat <- data.frame(x=x, y=y)
par(fig=c(0, 1, 0, 0.9), new=FALSE)
plot(y ~ x, xy_dat, pch=16, col=grey(0, .05), cex=.5,
    main=NA, xlab='', ylab='') # Format Axis Labels Seperately
mtext( 'y=0.25 x + e\n e ~ standard-normal', 2, line=2.2)
mtext( expression(x%in%~'[0, 10]'), 1, line=2.2)
#abline( lm(y ~ x, data=xy_dat), lty=2)
title('Plot with good features, but too excessive in several ways',
    adj=0, font.main=1)

# Outer Legend (https://stackoverflow.com/questions/3932038/)
outer_legend <- function(...) {
  opar <- par(fig=c(0, 1, 0, 1), oma=c(0, 0, 0, 0), 
    mar=c(0, 0, 0, 0), new=TRUE)
  on.exit(par(opar))
  plot(0, 0, type='n', bty='n', xaxt='n', yaxt='n')
  legend(...)
}
outer_legend('topright', legend='single data point',
    title='do you see the normal distribution?',
    pch=16, col=rgb(0, 0, 0, .1), cex=1, bty='n')
Learn to edit your figures:

Which features are most informative depends on what you want to show, and you can always mix and match. Be aware that each type has benefits and costs. E.g., see

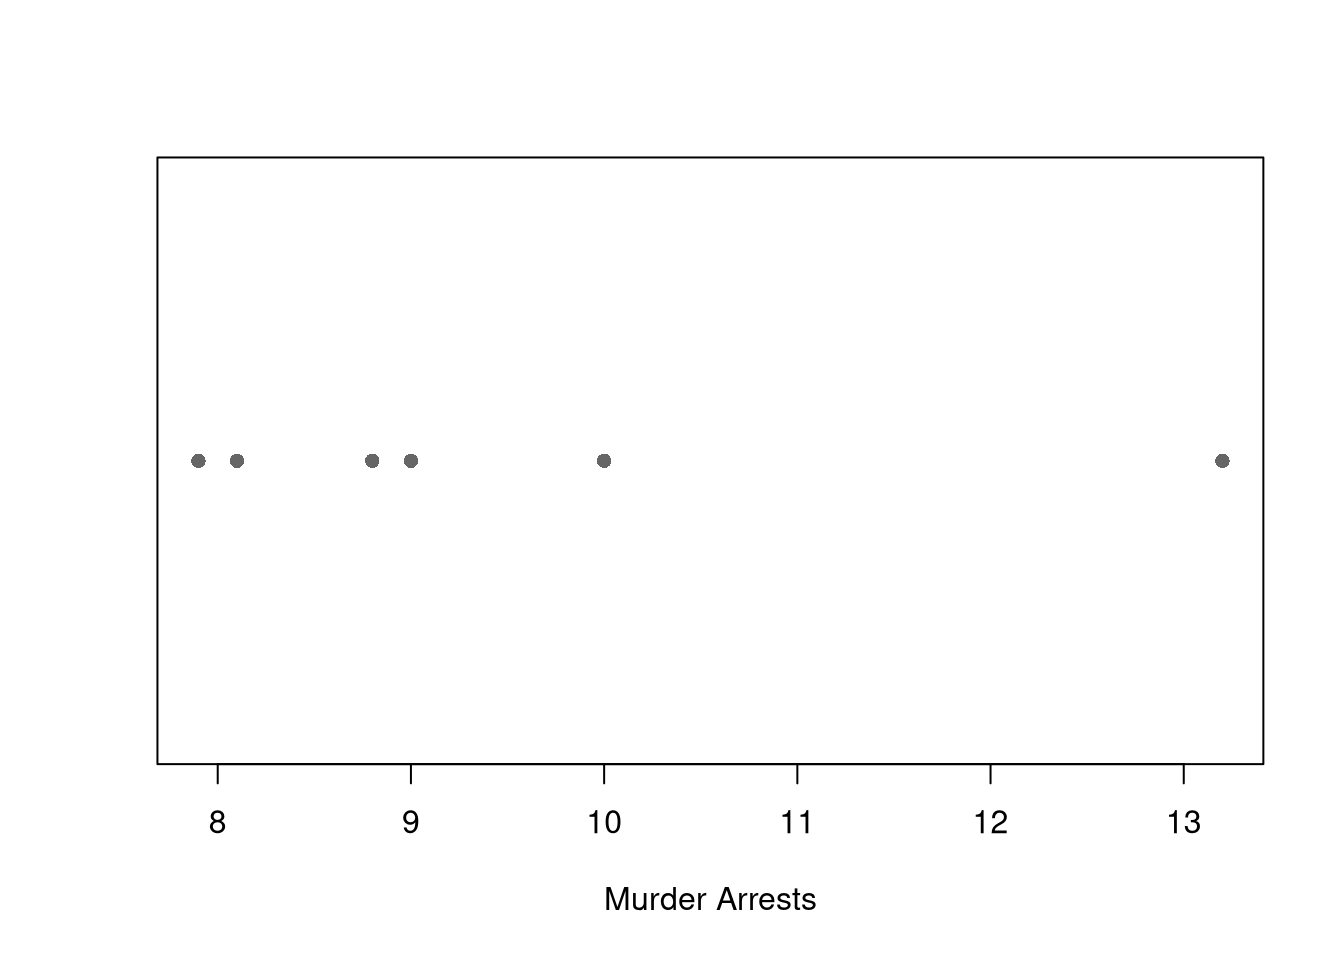
For small datasets, you can plot individual data points with a strip chart.

A strip chart shows every observation as a point along one axis, which works well when there are too few points to justify a histogram or boxplot.

Code
# Six states: show each Murder arrest value directly
small <- USArrests[1:6, 'Murder']
stripchart(small, pch=16, col=grey(0, .6),
    xlab='Murder Arrests')

With only six values, the strip chart shows the data honestly; a boxplot here would hide the individual points behind summary statistics.

For datasets with spatial information, a map is also helpful. Sometime tables are better than graphs (see https://www.edwardtufte.com/notebook/boxplots-data-test). For useful tips, see C. Wilke (2019) “Fundamentals of Data Visualization: A Primer on Making Informative and Compelling Figures” https://clauswilke.com/dataviz/

For plotting math, which should be done very sparingly, see https://astrostatistics.psu.edu/su07/R/html/grDevices/html/plotmath.html and https://library.virginia.edu/data/articles/mathematical-annotation-in-r

Static Publishing.

Advanced and Optional

You can export figures with specific dimensions

Code
pdf( 'Figures/plot_example.pdf', height=5, width=5)
# plot goes here
dev.off()

For exporting options, see ?pdf. For saving other types of files, see png("*.png"), tiff("*.tiff"), and jpeg("*.jpg")

You can also export tables in a variety of formats, including many that other software programs can easily read

Code
library(stargazer)
# summary statistics
stargazer(USArrests,
    type='html', 
    summary=TRUE,
    title='Summary Statistics for USArrests')
Summary Statistics for USArrests
Statistic N Mean St. Dev. Min Max
Murder 50 7.788 4.356 0.800 17.400
Assault 50 170.760 83.338 45 337
UrbanPop 50 65.540 14.475 32 91
Rape 50 21.232 9.366 7.300 46.000

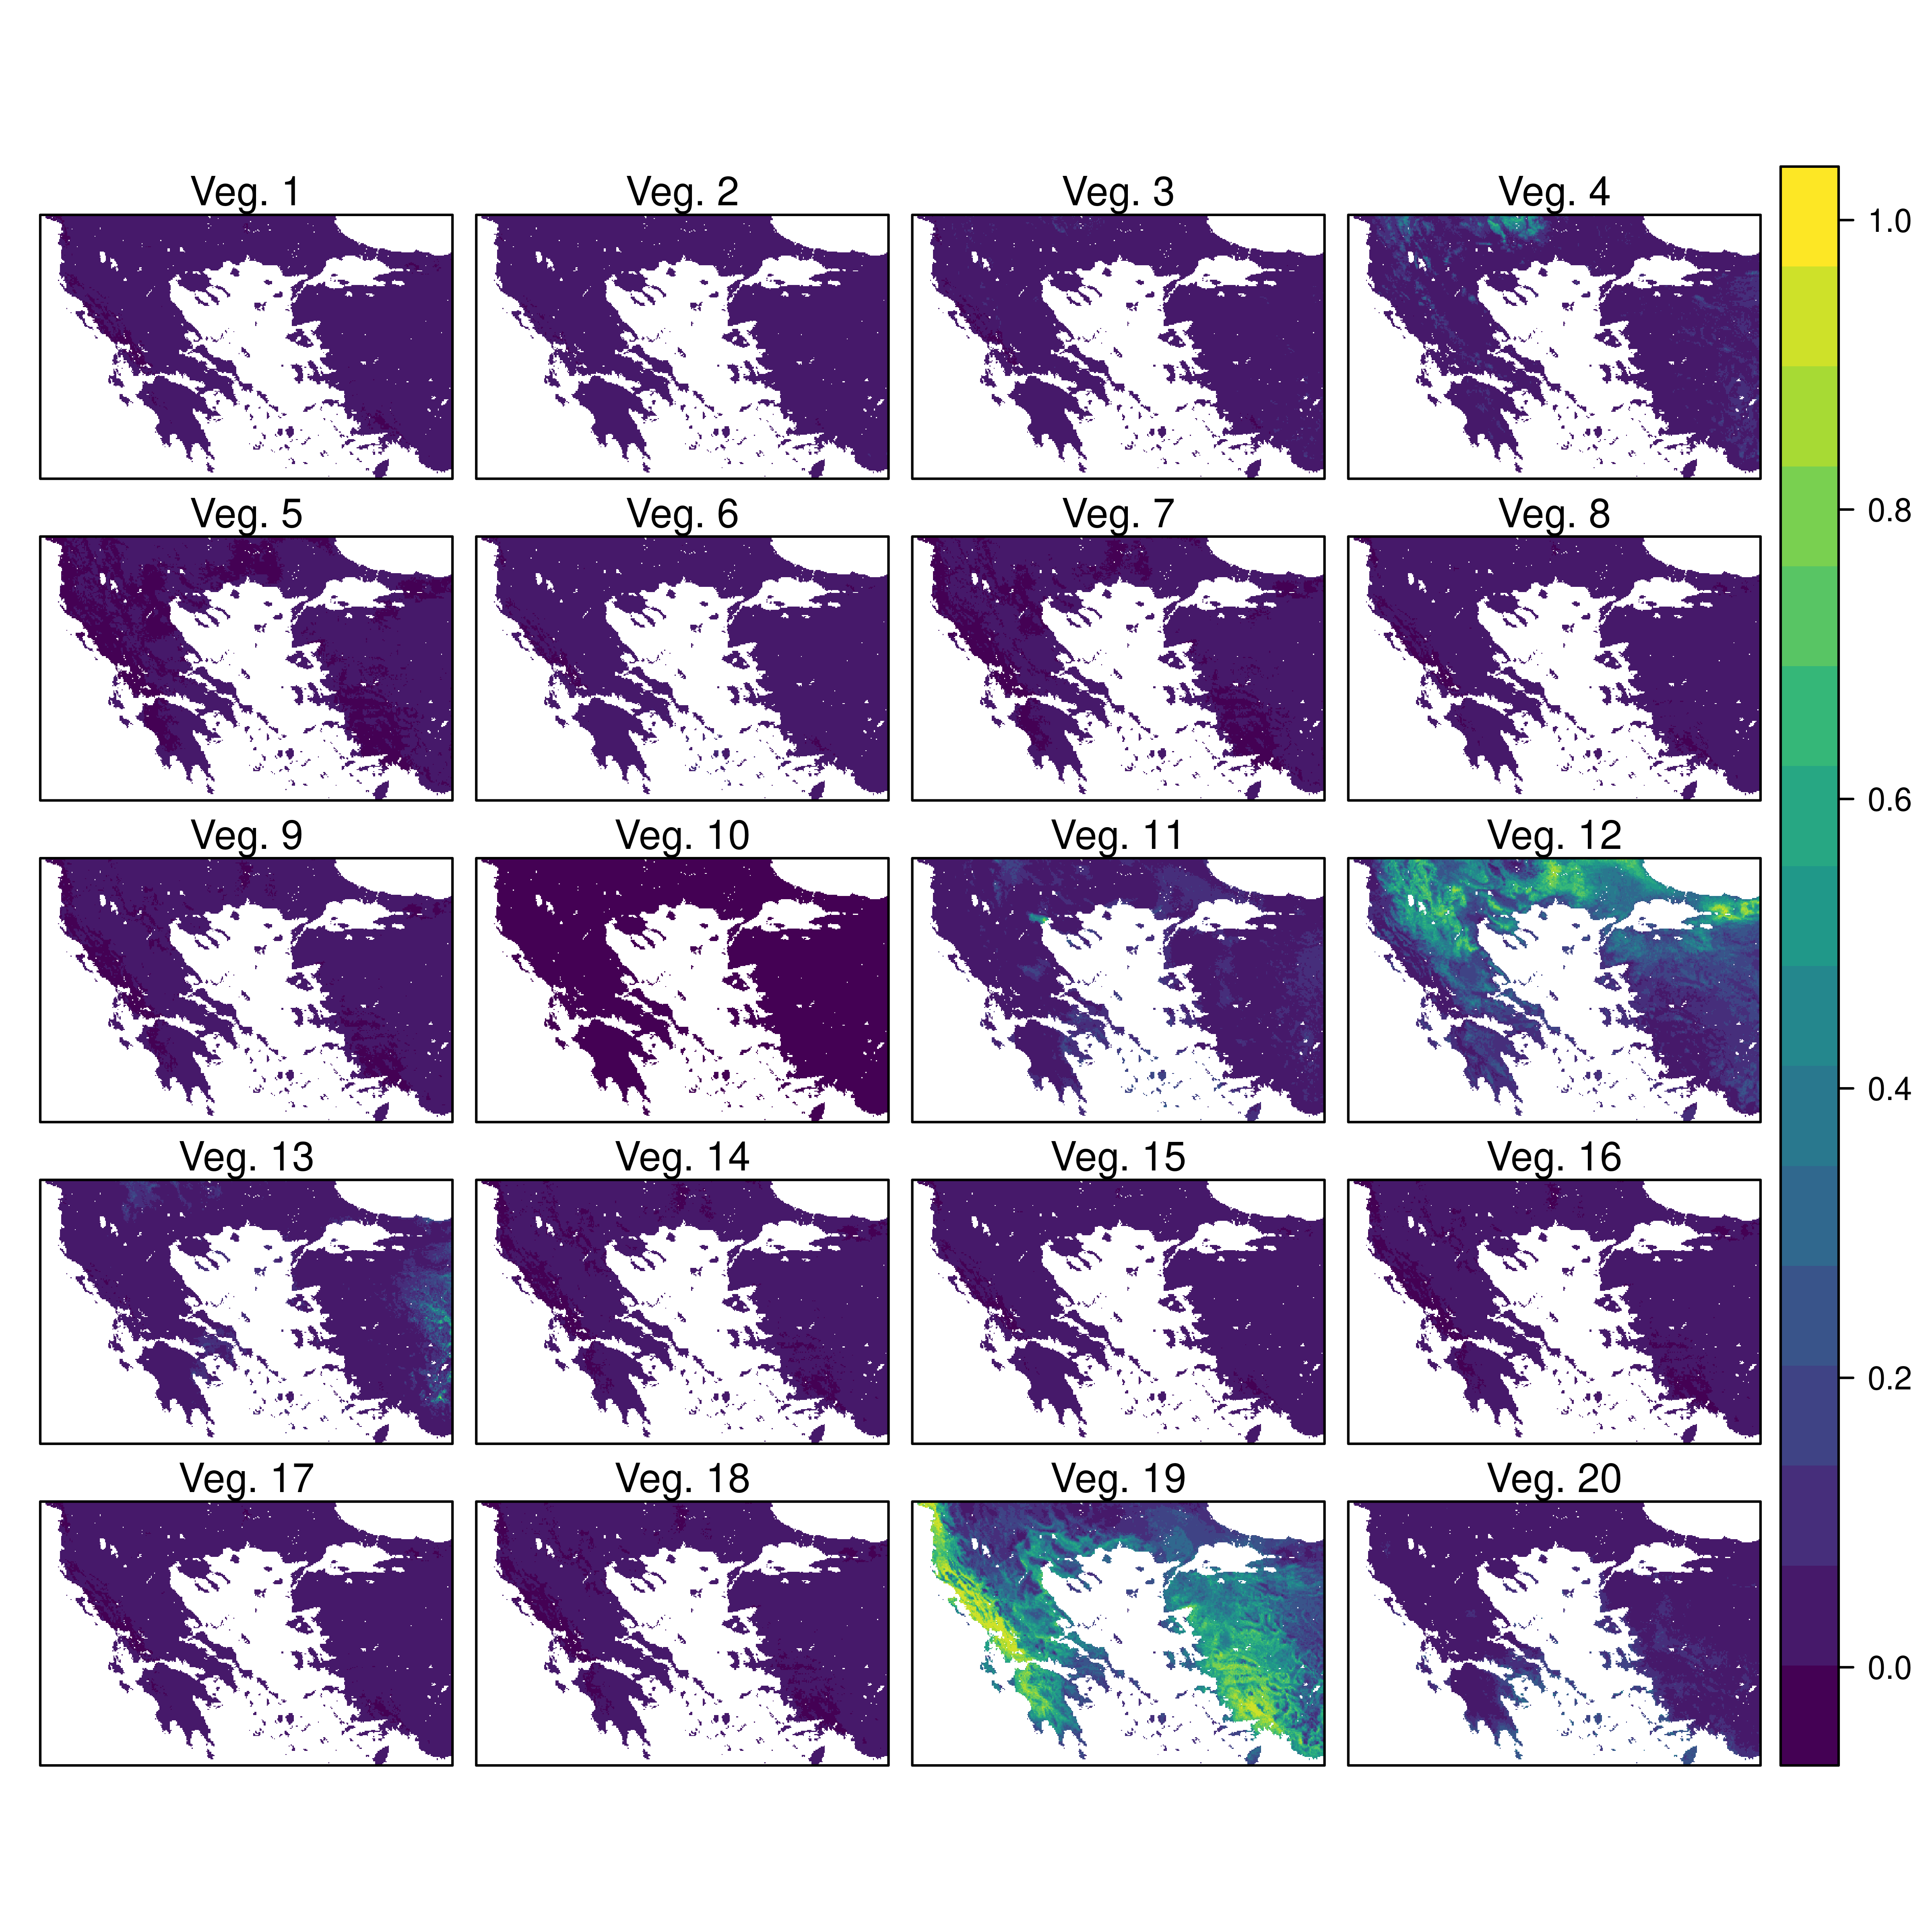
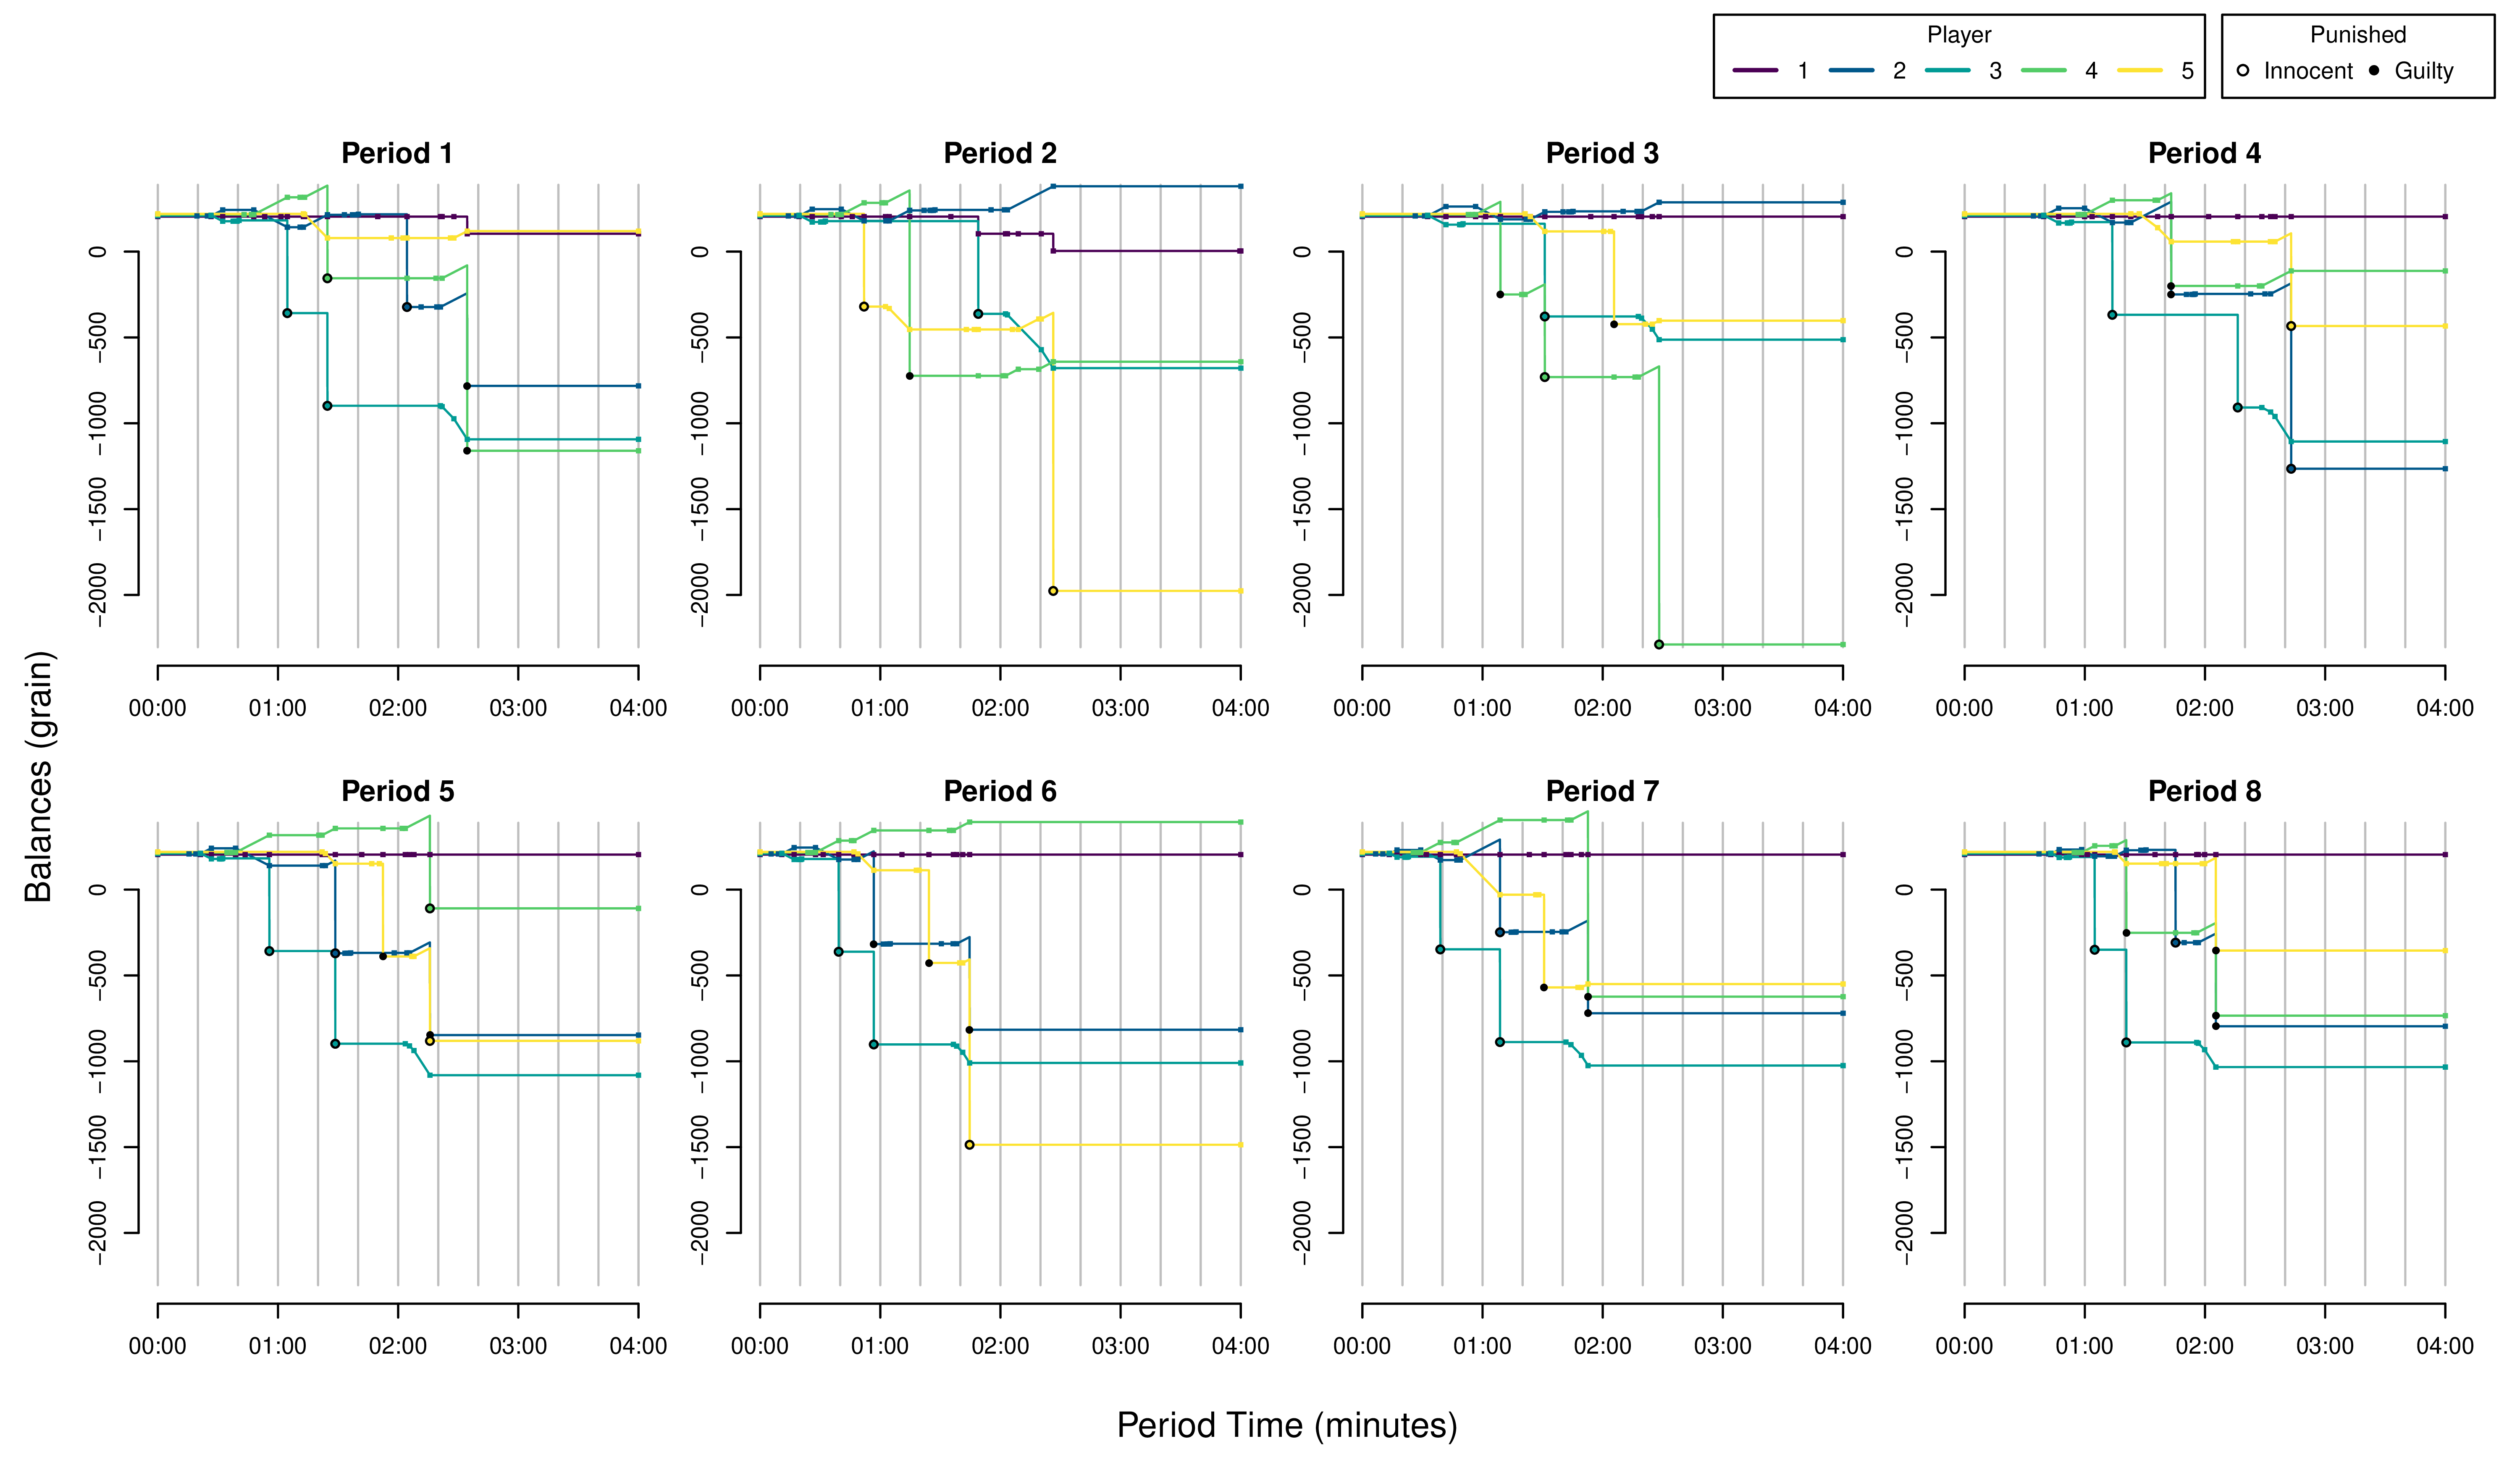
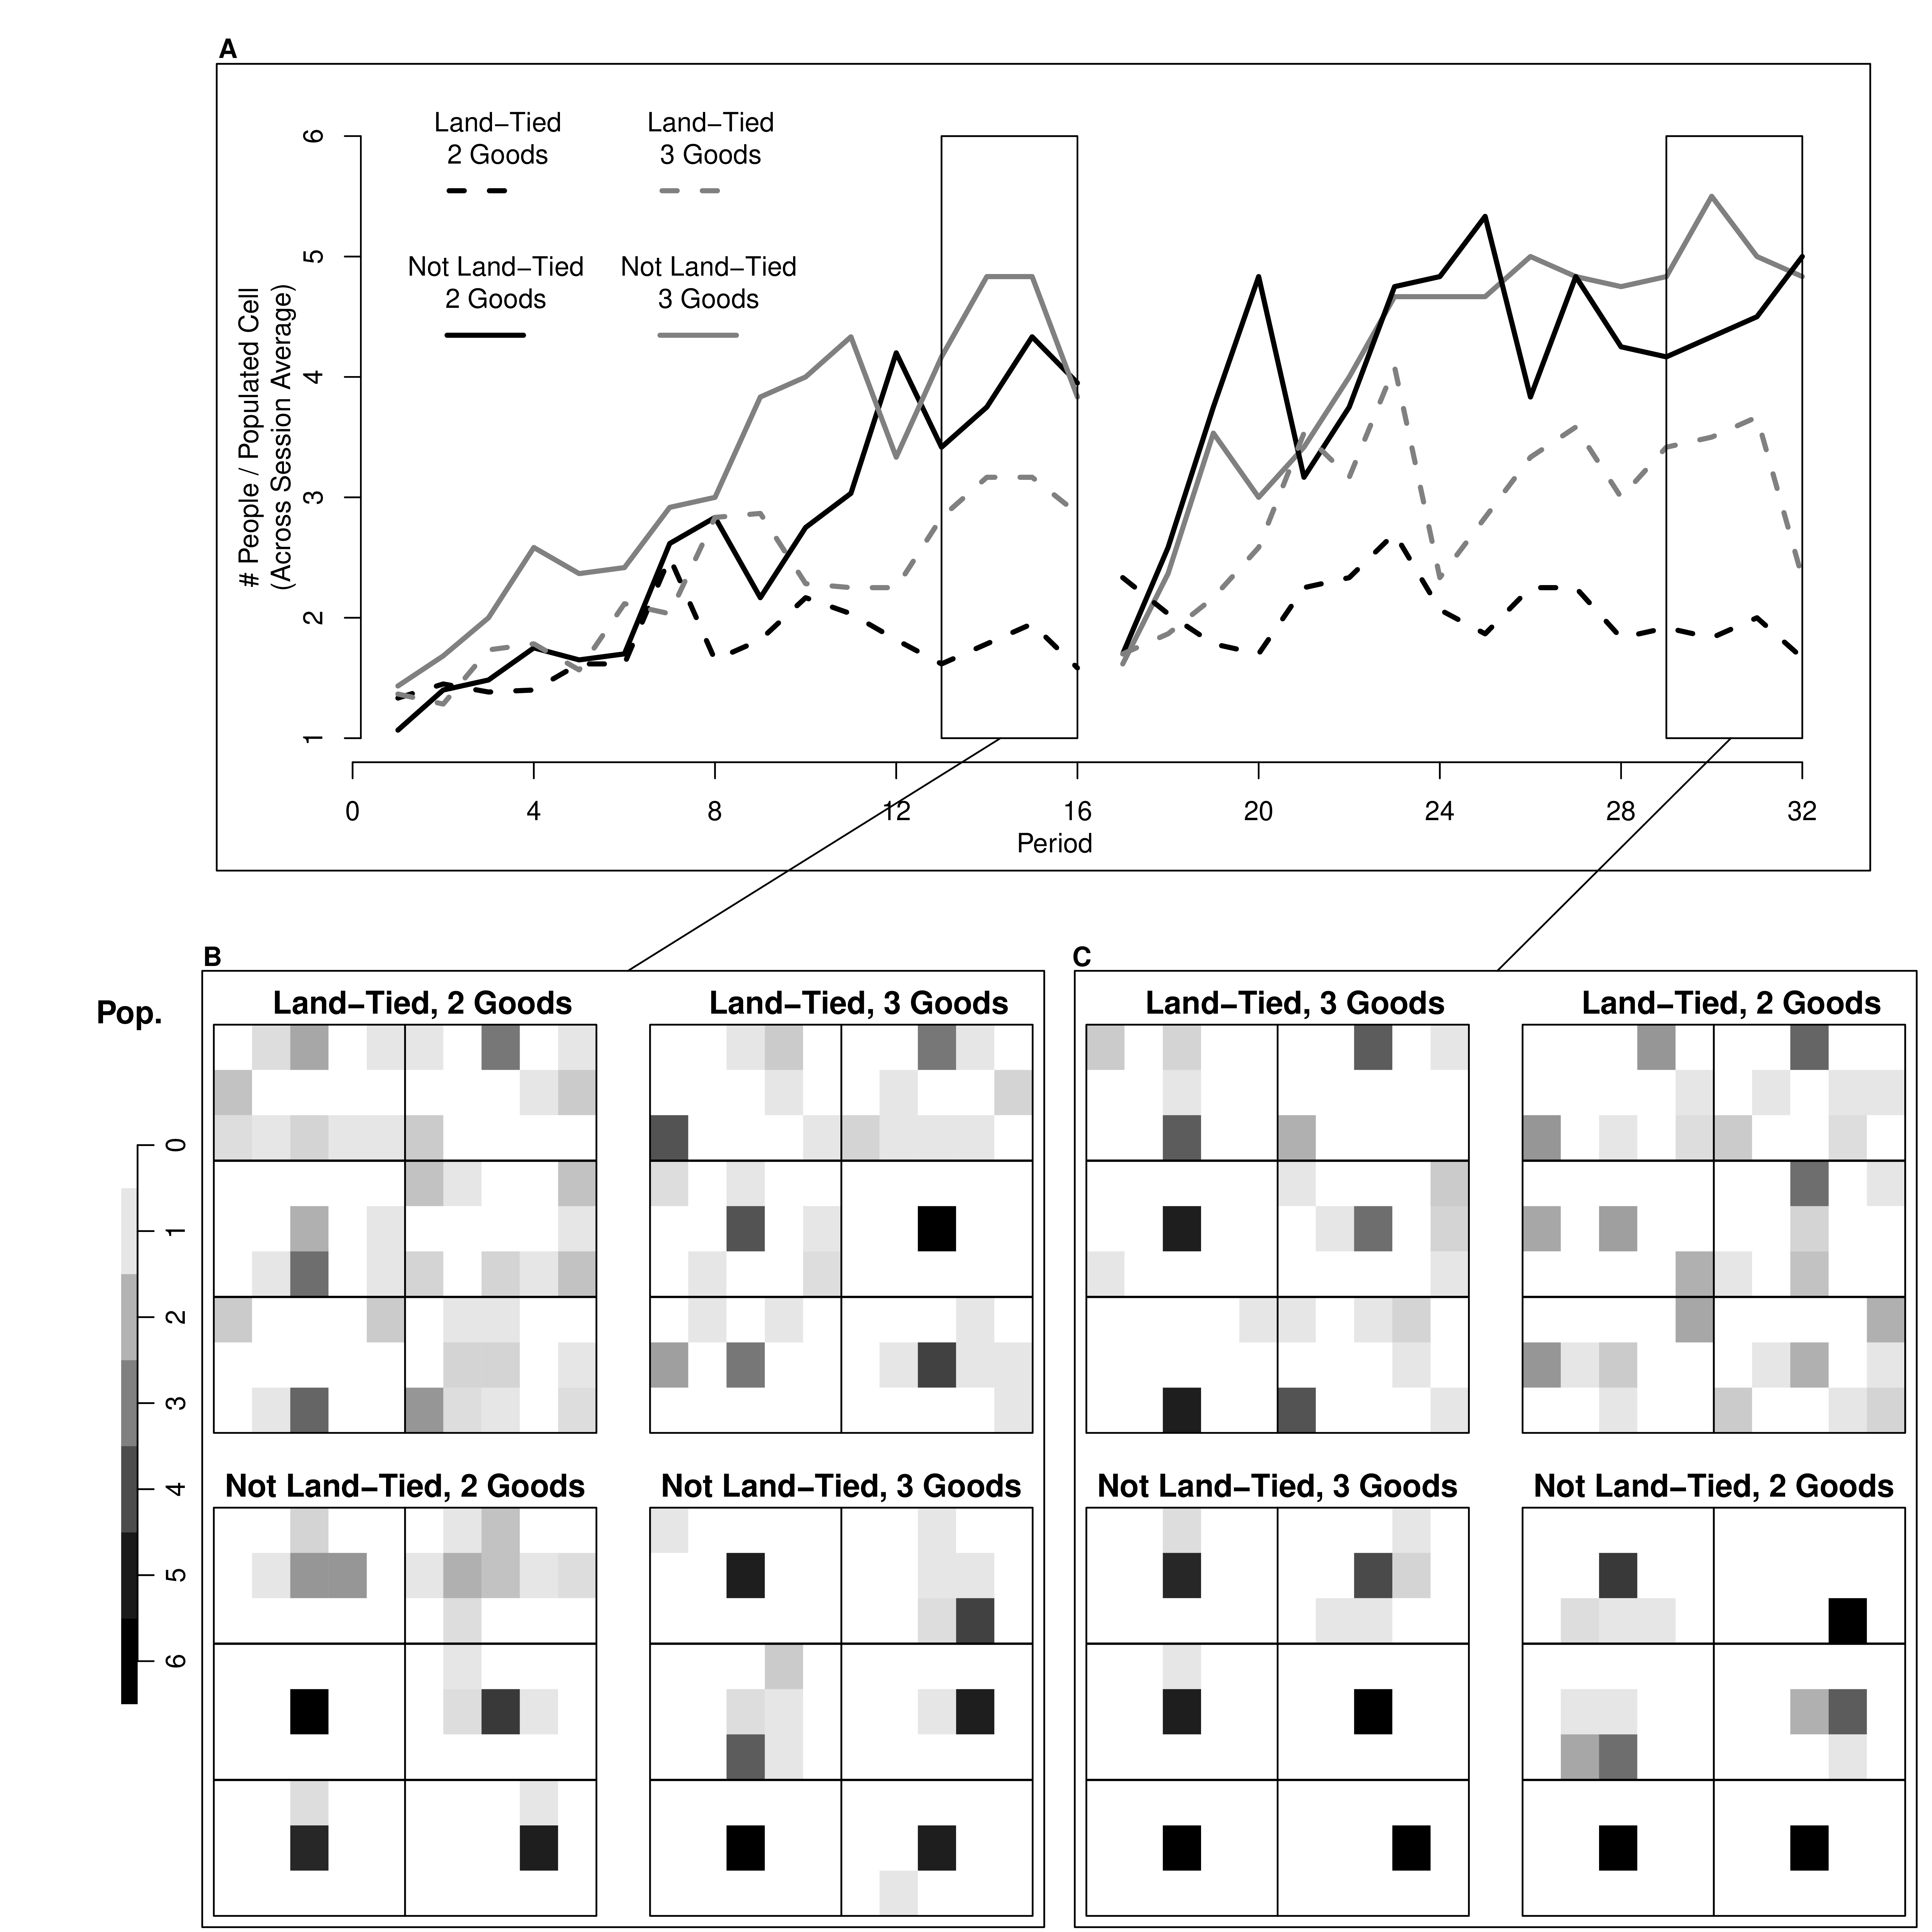
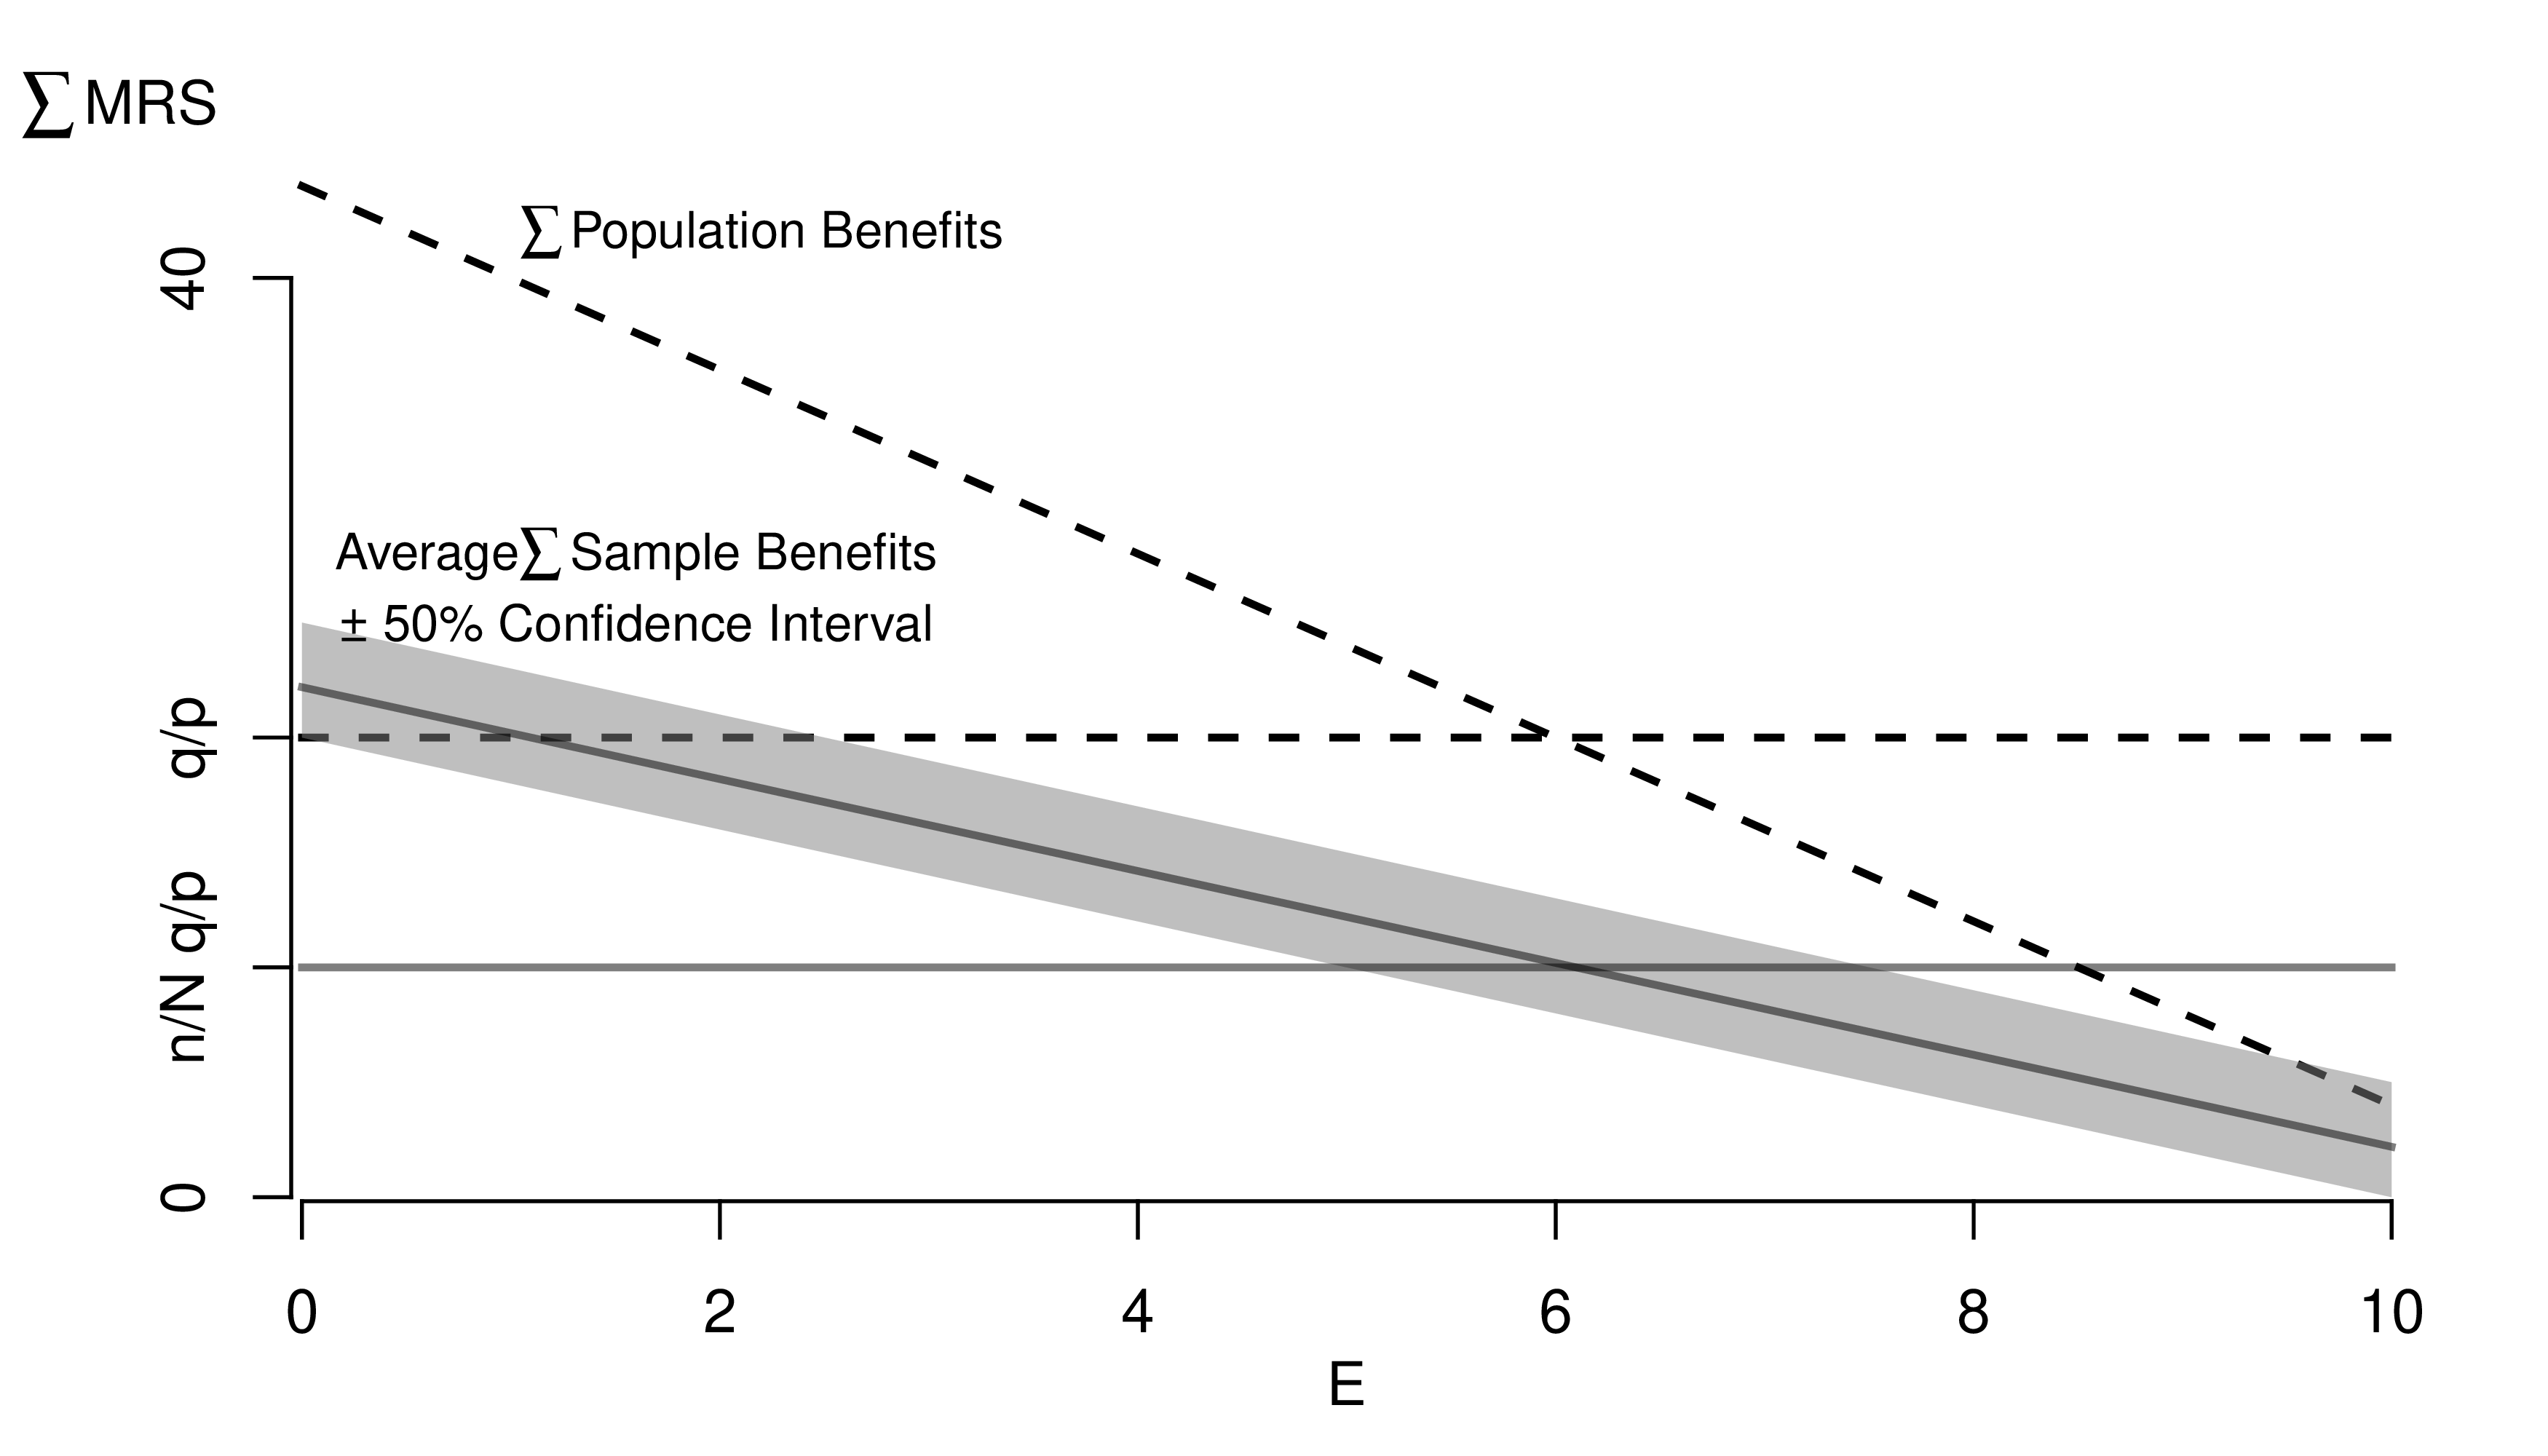
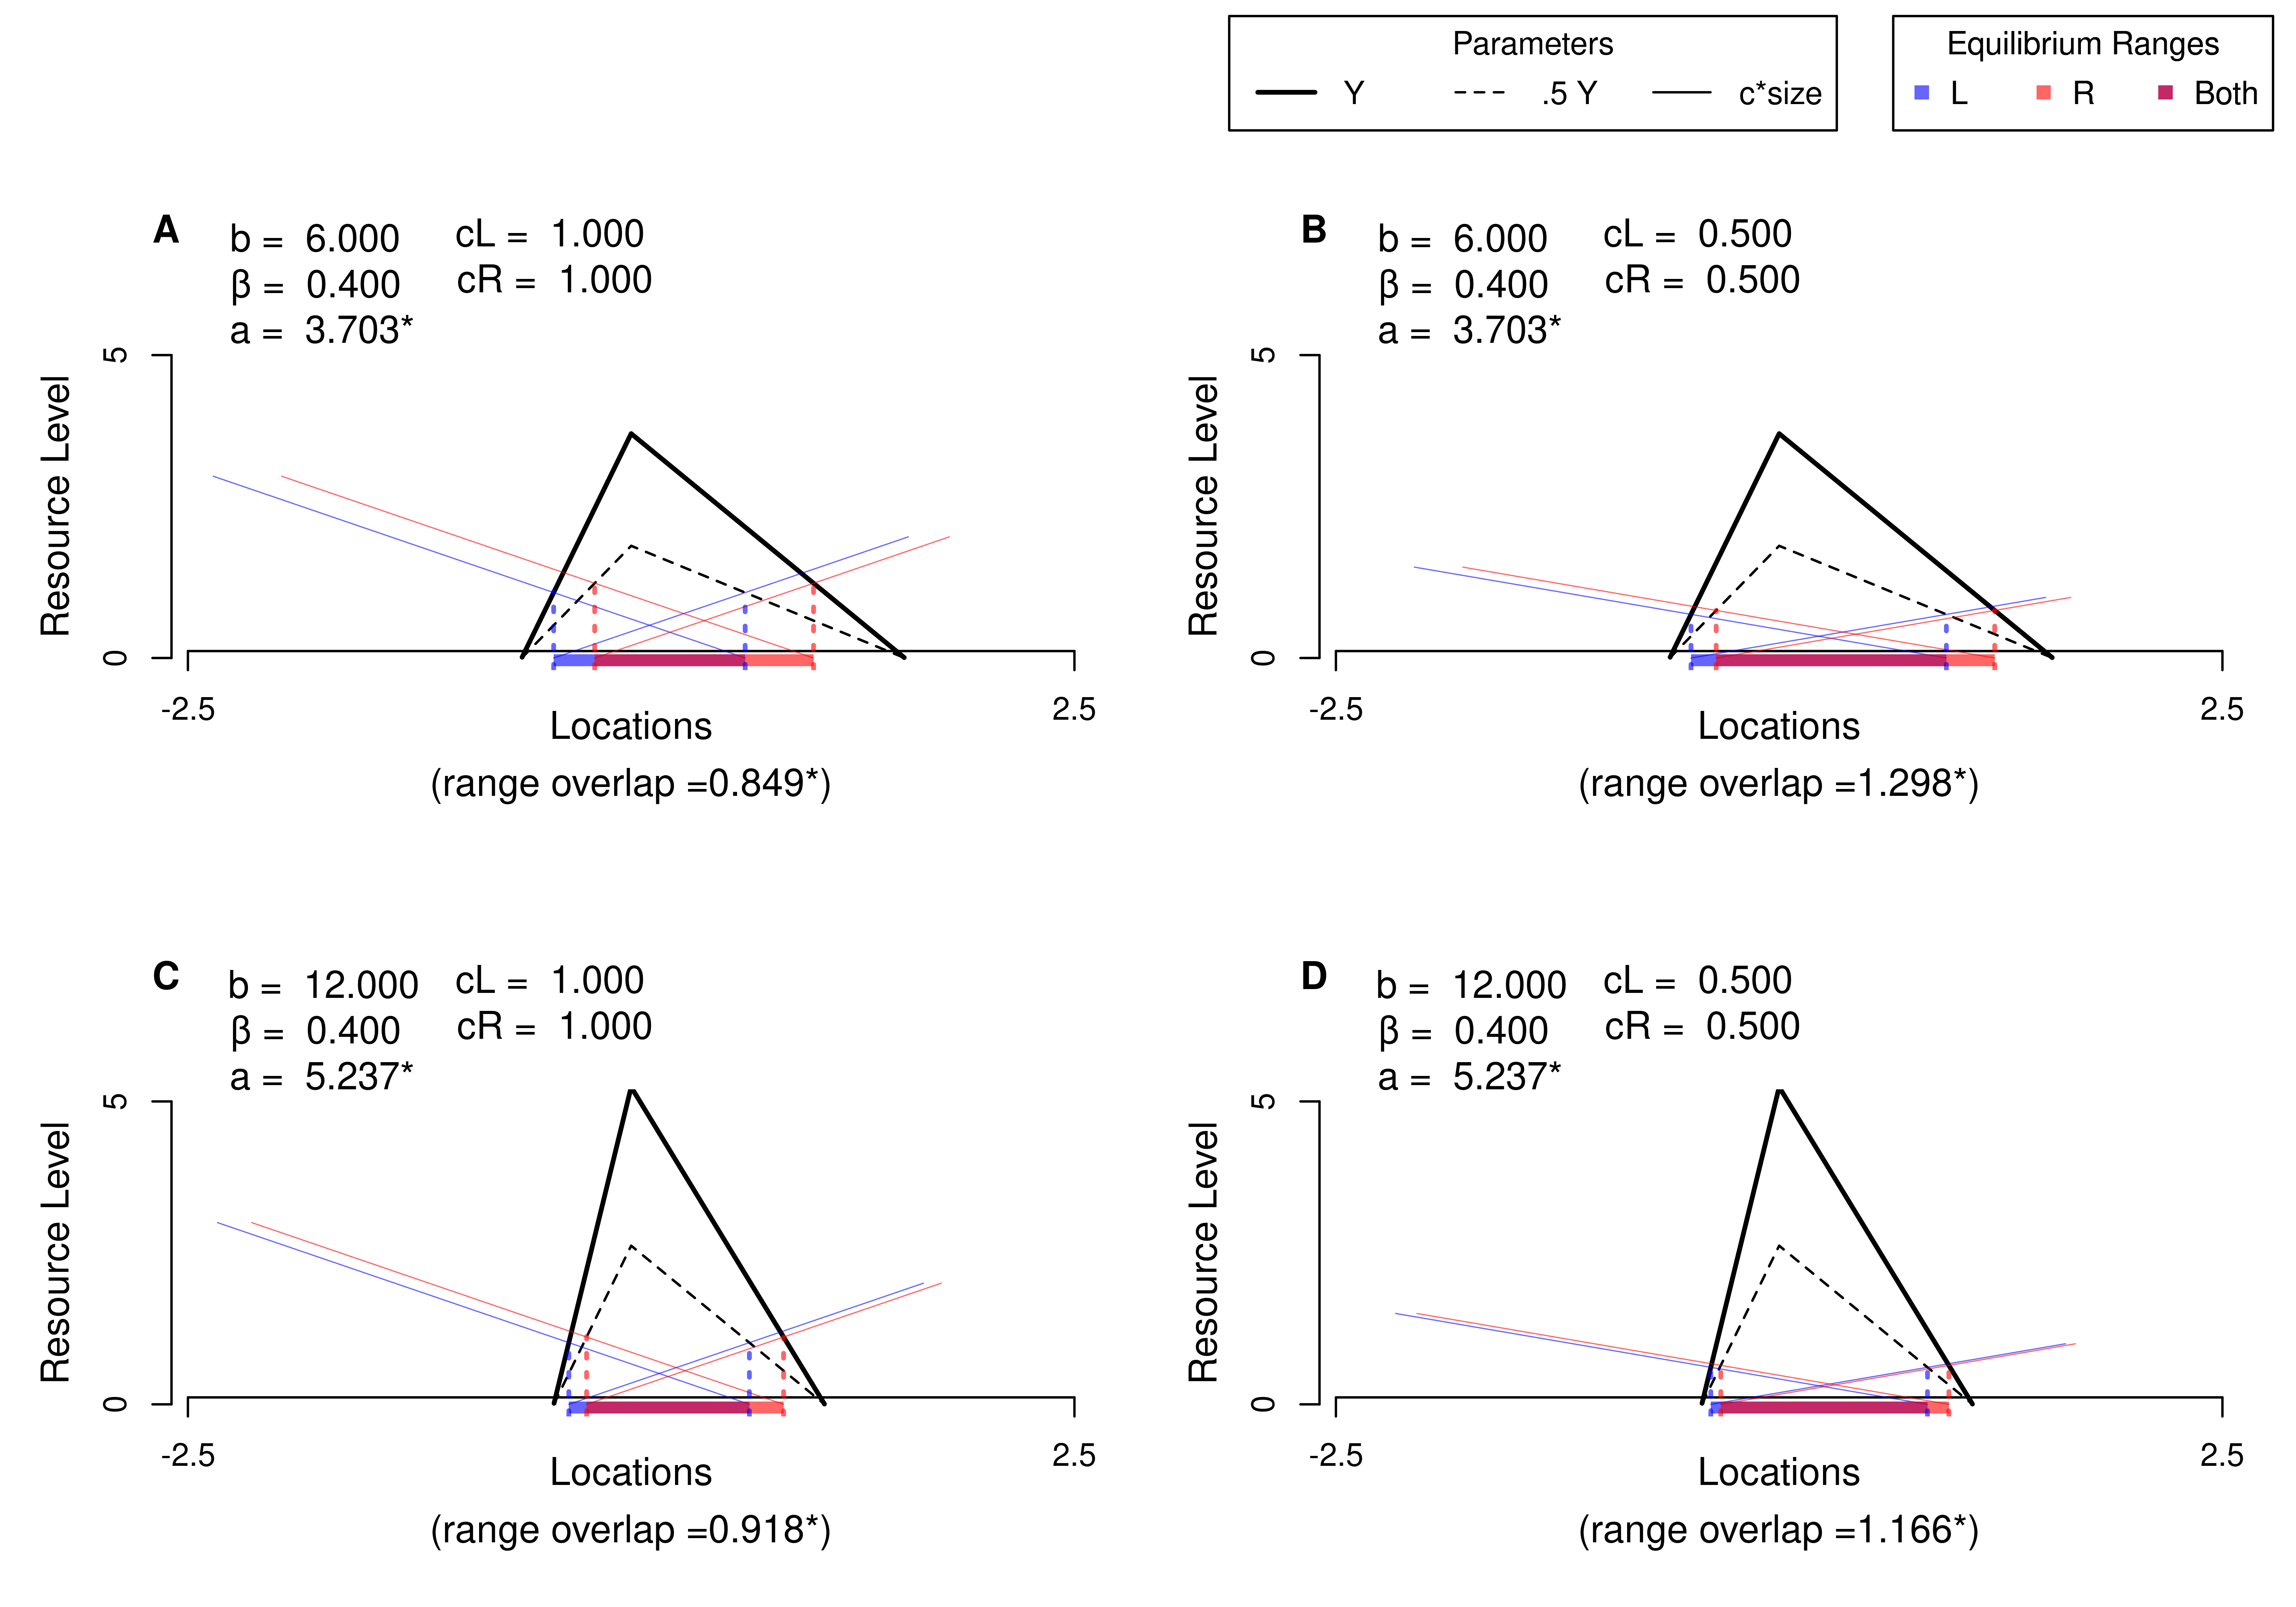
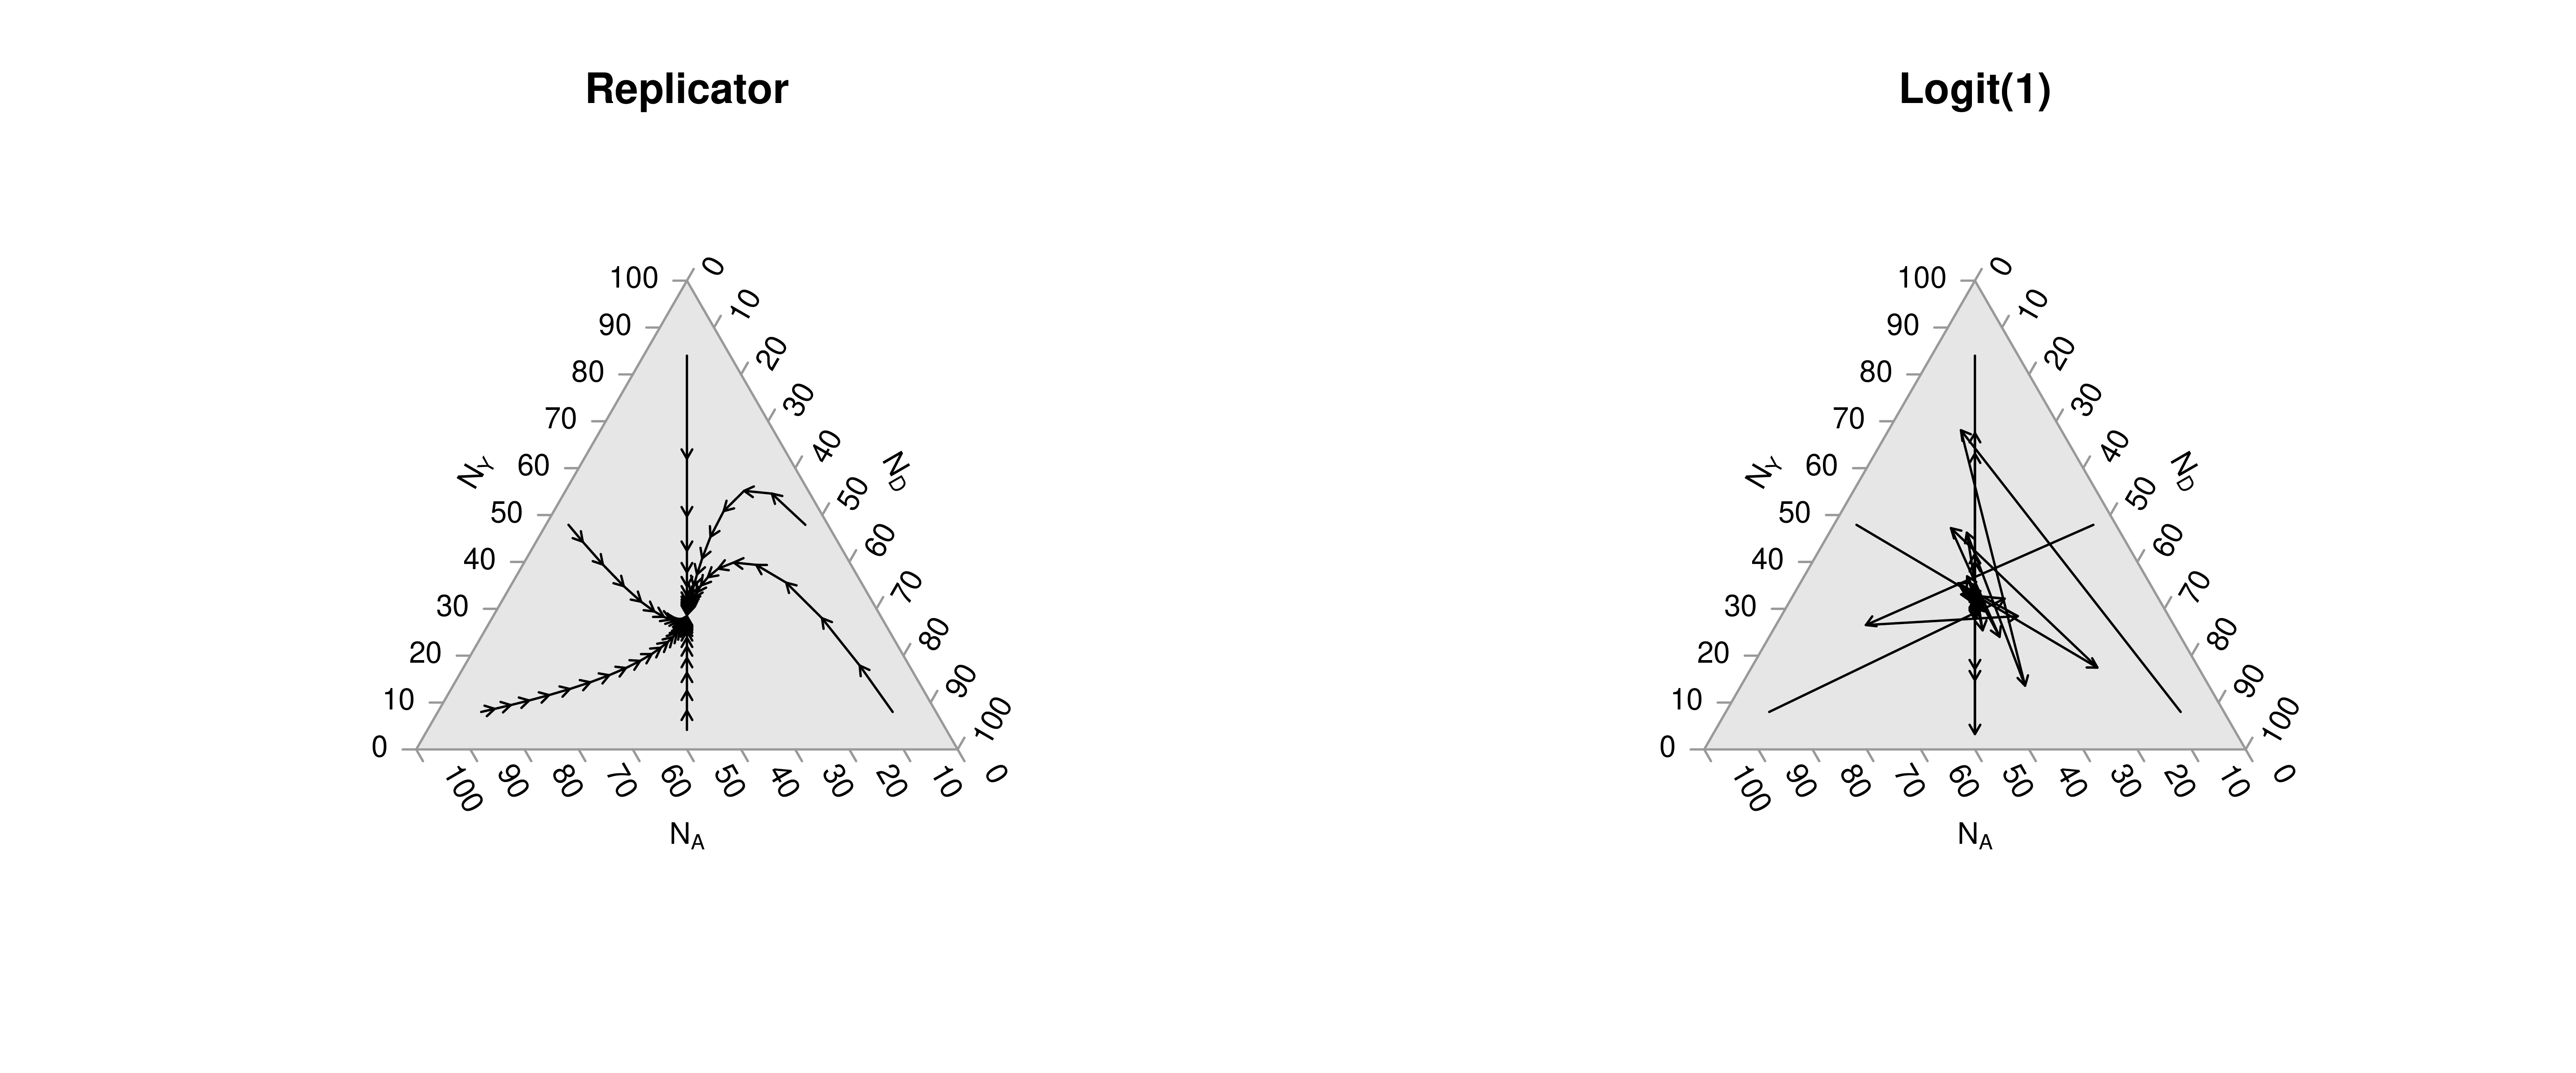
Note that many of the best plots are custom made (see https://www.r-graph-gallery.com/). Here are some ones that I have made over the years.

18.2 Quarto Reports

Quarto Documents.

A statistical analysis typically lives in two places at once: code that produces numbers and prose that explains them. Keeping the two in sync by hand is the source of most reproducibility failures. A Quarto document (.qmd file) is a plain-text source that interleaves prose with executable R code chunks. Rendering produces a self-contained output (HTML, PDF, or Word) where the code, its results, and the surrounding text all stay in sync.

Quarto is useful as the format for any analysis that has both writing and computation: homework reports, technical notes, papers, slides, and the chapters of this book. R does the statistical computation and Quarto formats those computations into a polished document. Altogether, your project will use

  • R: does statistical computations
  • Quarto: formats statistical computations for sharing (.qmd files)
  • RStudio: graphical user interface that allows you to easily use both R and Quarto

Reproducible Reports.

Quarto solves the mechanics of mixing code and prose; the larger goal it serves has its own name.

ImportantKey Definition

A reproducible report is one whose final figures, tables, and numbers can be regenerated from the source file alone, by anyone with the data and the listed software versions.

Reproducible reports are useful because they let collaborators (and your future self) re-run the analysis after data are updated, methods are corrected, or a coauthor wants to check a number. Homework reports are the smallest version of this: simple reproducible reports that are almost entirely self-contained (showing both code and output). To make them, you need Quarto installed on your computer.

  • RStudio (version 2022.07 or later) includes Quarto

Example.

Start by opening RStudio, then

  • Click “File > New File > Quarto Document”
  • Add your name and a title
  • Save the file as “COURSEID_Template_Lastname.qmd”
  • Click “Render”
  • Notice how the code in the source document corresponds to formatting in the output document

Now try each of the following steps, re-rendering the document after each step

  • Basic Formatting:
    • Change the title to “My First Quarto Document”
    • Change the bold word Render to italics: Render
    • Create a new section header at the bottom called “Data Analysis”
  • Data Analysis:
    • Make a simple scatterplot for Murder vs. UrbanPop in the USAarrests data
    • Change the simple scatterplot into a polished interactive scatterplot
    • Before the scatterplot add a reactable table for the raw data
    • Write your own description of a) the dataset and b) the relationship between Murder and UrbanPop
  • Polishing
    • Delete the default sections
    • clean up your analysis (make sure the table,figure, and writing are high quality)
    • Email the output, “COURSEID_Template_Lastname.html”, to yourself

18.3 Exercises

  1. Comment the script you wrote for this chapter, then restart R and check that it runs from a clean session, then check the script with AI as explained in Working with AI. Write three sentences from memory on the main statistical idea of this chapter, and ask the assistant what is wrong, vague, or missing. Finish with your own questions about whatever you found hardest.

  2. When polishing a figure, you must both add necessary details and remove unnecessary ones. Give one example of each for a scatterplot of Murder vs. UrbanPop in the USArrests dataset.

  3. Using the USArrests dataset, compute summary statistics (mean, standard deviation, min, max) for all four variables. Present the results in a single data frame with one row per variable.

  4. Using the USArrests dataset and the plotly library, write R code to create an interactive scatterplot of Murder (y-axis) vs. UrbanPop (x-axis). The hover text should display the state name, murder rate, and urban population percentage.

Further Reading.

Recall

This chapter closed Part 2 with the communication side of analysis: interactive figures, interactive tables, the data-ink ratio, and Quarto as a reproducible-report format. The USArrests data ran through every example: a plotly scatterplot with state-name hover text, a reactable table of summary statistics, and a side-by-side comparison of a cluttered scatterplot against a polished one of Murder vs. UrbanPop. The next chapter opens Part 3 with multiple linear regression, extending the single-predictor model from Simple Regression to many explanatory variables at once.

Hintze, Jerry L., and Ray D. Nelson. 1998. “Violin Plots: A Box Plot-Density Trace Synergism.” The American Statistician 52 (2): 181–84. https://doi.org/10.1080/00031305.1998.10480559.
Tufte, Edward. 2001. The Visual Display of Quantitative Information. 2nd ed. Graphics Press. https://www.google.de/books/edition/The_Visual_Display_of_Quantitative_Infor/qmjNngEACAAJ.